Spring is here for many of us, and many more of us have seedlings sprouted and waiting to move to their next homes. While transplanting seedlings is a part of gardening many of us are familiar with, we have a great many new gardeners joining us this year—and frankly many of us “old timers” could use a refresher course. So, let’s talk about seedlings, when to transplant them, how to transplant them, and a few tips and tricks for best success. Transplanting seedlings is pretty easy as long as you keep a few things in mind, so let’s dig in!
When to Transplant Seedlings
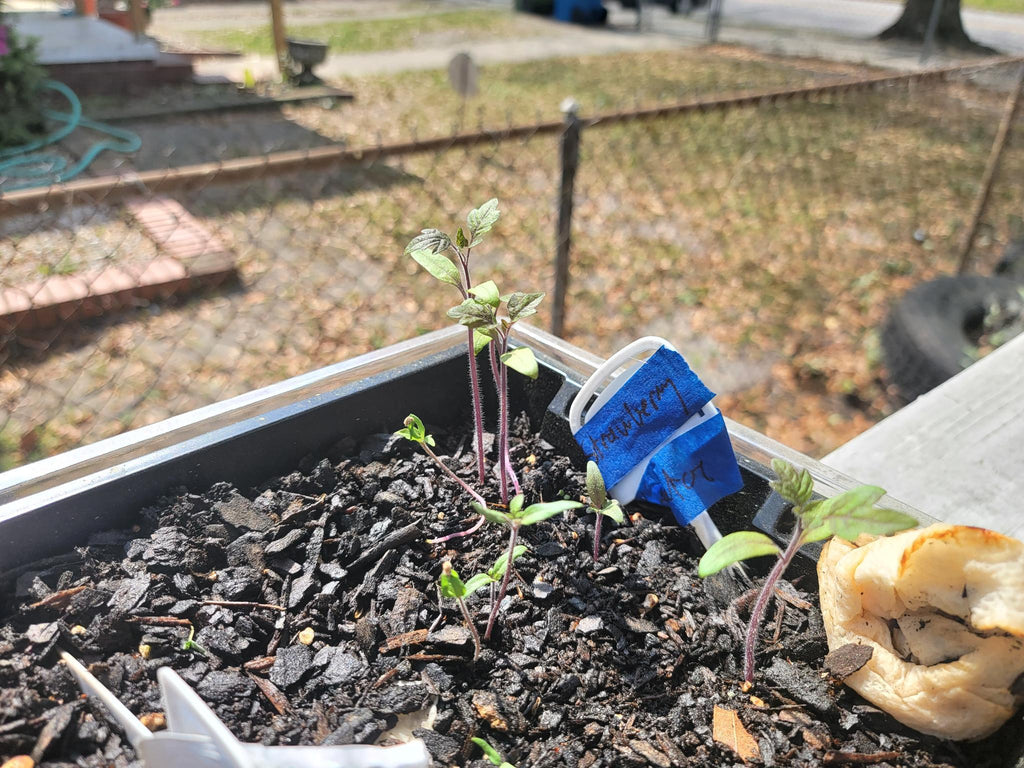
Like many things in gardening, seedlings need transplanting at the right time. The good news is that seedlings have a built-in timer which lets us know when to start thinking about transplanting. Most seeds put out a set of “starter” leaves, properly called cotyledon leaves, after they initially sprout. As the new seedling grows, it then puts out a set of “adult” leaves that are the kind of leaves which will grow on the mature plant. When this set of secondary “adult” leaves comes out, your seeds are likely ready to transplant. If they’re in a large enough seed starting tray, you don’t need to rush it, however. Letting your seeds establish better roots and a stronger step can help with transplanting success.

Why Seedlings Need Transplanting
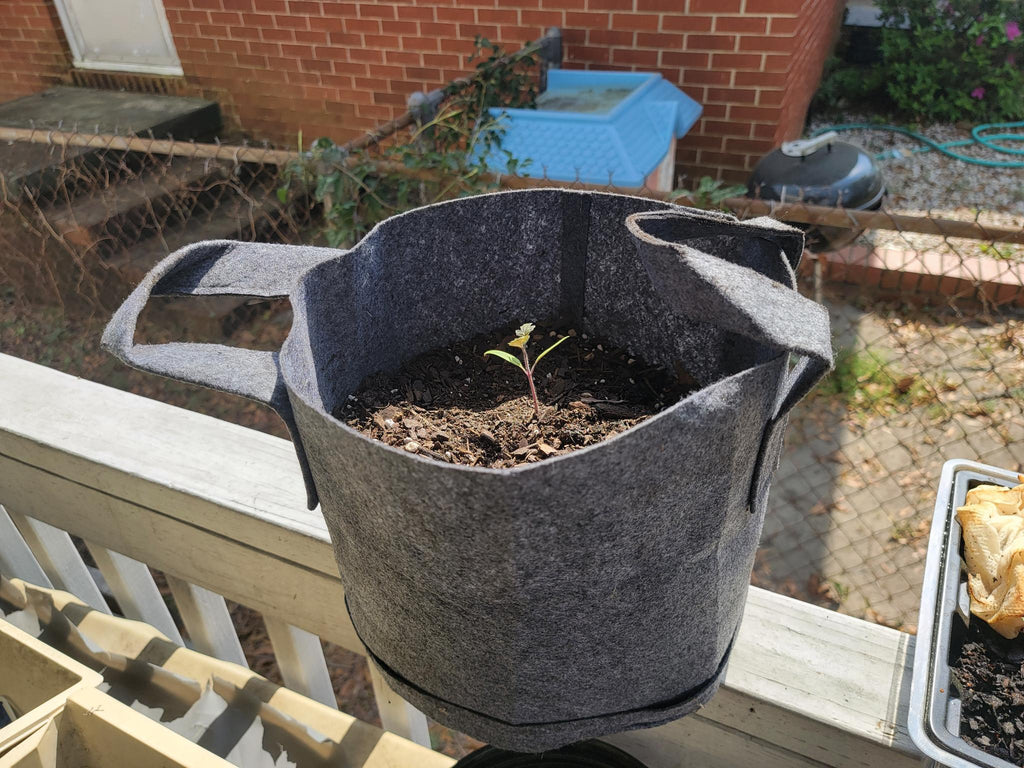
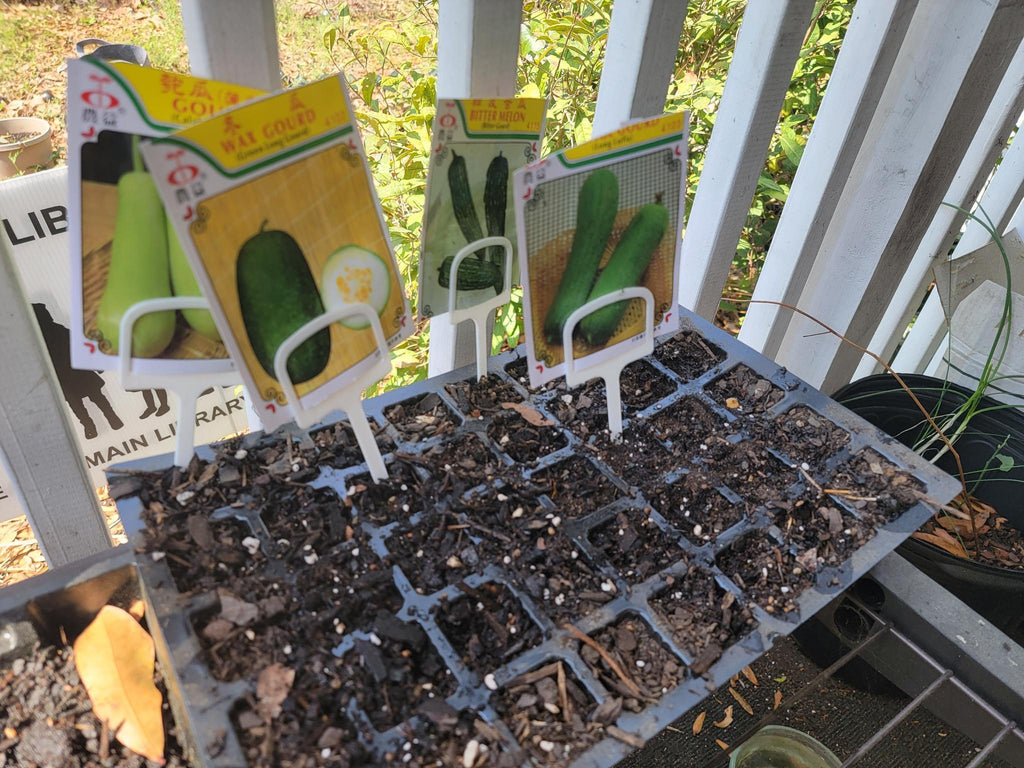
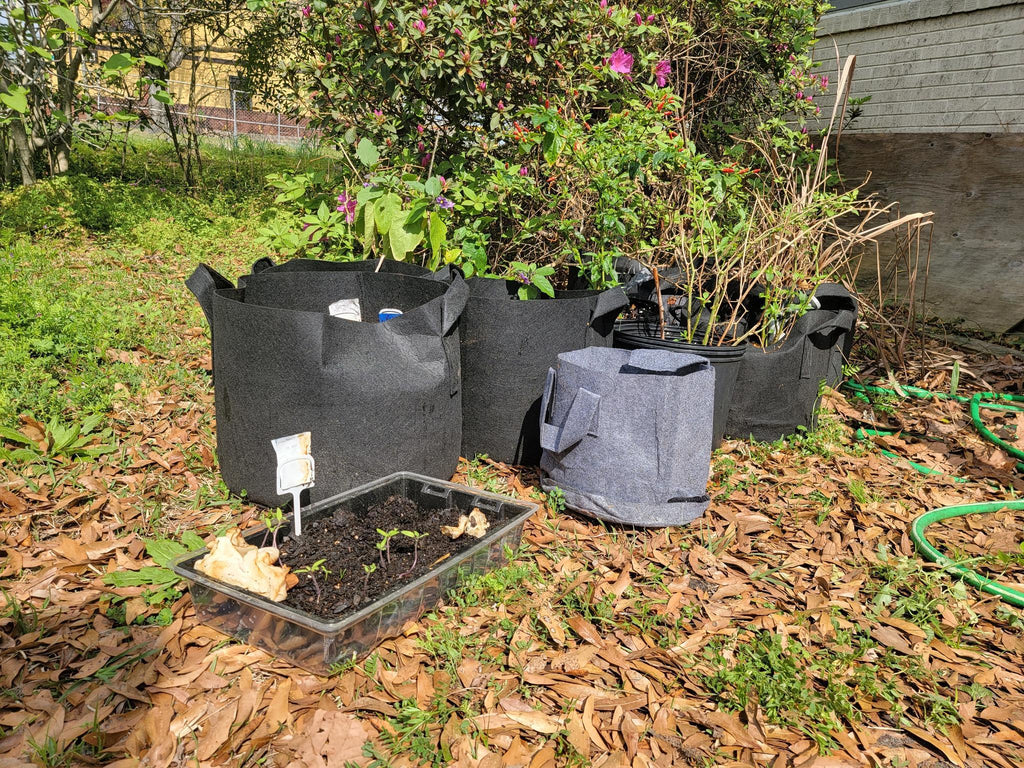
Part of the “why” of transplanting seedlings is obvious: they need a bigger home! Starting seeds in seed trays is an easy way to control the starting medium, nutrition, light, and water that your baby plants get, but seed trays aren’t meant for most plants to grow in. By moving your seedlings to a larger container or in-ground space, you’ll give them more room to grow, more appropriate soil conditions, and access to better light or a better location.

How to Transplant Seedlings
With the theory of transplanting seedlings behind us, let’s talk about how to best transplant seedlings in order to ensure their ongoing success. A key thing in transplanting seedlings is preparation: have everything you need gathered and organized in advance. While many kinds of seedlings are tough and can cope with some handling, minimizing the time seedlings are out of the soil is a good general practice.
So what will you need to transplant? As it turns out, mostly just common gardening supplies:
- Your seedlings, of course, in their original starting container
- A containeror in-ground space to move them to
- Potting soil, if using a container
- A garden trowel
- A watering can or other means to water your plants gently
- A space to work on
The process is pretty simple. Prepare a hole for them in the target container or space you’re transplanting them into. This should be a little bigger than the plant needs so you can fill in soil around it. If your seedlings are in a flat tray, scoop them out gently with the tip of a trowel or your fingers. Take the soil around the roots as much as you can so you don’t damage or disturb the roots of your plants—while it probably won’t kill your seedlings, it may weaken them and delay their growth. If your seedlings are in plant plug trays, gently push up from the bottom of the tray and try to move the entire plug of soil along with the plant—some tray designs make this easier than others, but go slowly and gently and you should be OK. In either case, try to handle the seedling gently, and if you must handle the seedling directly rather than the soil plug make sure to handle the seedling from the stem rather than the leaves. The stem is much stronger and less likely to take damage, and ripping the leaves off can kill your seedling.
Once the seedling is in place, give it a long, gentle drink of water from a mister or gently used watering can. Again, go slowly—you don’t want to beat your seedlings up with a heavy rain of water! Let your seedlings rest someplace safe, sheltered, and at a comfortable temperature until they adjust to their new home. If your seedlings look a little wilted or sickly for a few days, don’t panic! That may just be transplant shock, which happens when a seedling or plant moves abruptly and needs some time to get used to its new surroundings and for the root ball to heal a bit.

A Quick Note About Hardening Off
While we’re on the subject of transplant shock, let’s talk about hardening off your seedlings and the role it plays in transplanting. “Hardening off” refers to the process of letting new seedlings which were sprouted indoors adjust to an outdoor environment. Generally, this is accomplished by letting them spend a few hours outside every day in a reasonably sheltered space, increasing the time daily over the course of a week or so.
So—should you harden off before or after transplanting? While different plants have different needs, there’s no hard and fast answer. Each gardener has their own space and space limitations, and those shape how and where they both sprout seeds and harden off. What we can say is that hardening off and transplanting are best handled separately, meaning that you shouldn’t start hardening off the same day you transplant. Let the plant adjust to one big change before subjecting it to another!

Final Thoughts on Transplanting Seedlings
Transplanting seedlings is a pretty easy skill to learn with a little practice. Just go slow, stay organized, and take it easy on both yourself and your baby plants. We hope as always that this blog helps you understand the process of transplanting seedlings a bit better, and that you have great success with your transplants this year. If you have any tips, tricks, or feedback, let us know!

Leave a comment