Very few foods embody the spirit of summer the way that watermelons do. These delicious fruits are part of our cultural celebrations of the season—try to imagine the Fourth of July without watermelon!—and are a favorite plant for many home gardeners. Growing watermelon at home isn’t difficult, although like tomatoes watermelon have a large body of gardening folklore built up around them. Hopefully this blog can make watermelons a bit more accessible by exploring some tips and techniques for growing watermelon at home and getting the most out of your watermelon harvest!
All About Watermelon
Watermelons—knowing scientifically as Citrullus lanatus—are a member of the Curcubitaceae family. This means they’re cousins to cucumbers, bitter melons, and squashes. This shows in their structure, with a harder outer rind protecting a softer, sweeter, seed-filled interior. While watermelon were originally cultivated as a way of preserving clean water—hence the name—they were eventually bred to have sweet, edible flesh.
Watermelons originate somewhere in North African or the Middle East, and from their spread to South Asia and Mediterranean Europe. Enslaved Africans introduced watermelon to the Americas in the 16th century, where it quickly became a popular food plant in the temperate through tropical zones. It remains hugely popular to this day, particularly in the Southern United States where it is traditionally cultivated.

Planting and Growing Watermelon
Growing watermelon at home is fairly simple once you understand a bit about what they need to thrive. Watermelons come in a number of varieties, and the first step is finding the right one for your needs. Broadly speaking, watermelon varieties are “Early Season/Short Season” and “Long Season”, depending on how much time they need to produce ripe fruits. Early/short season watermelon varieties include ‘Sugar Baby’, ‘Blacktail Mountain’, and ‘Golden Crown’, which all take between 70 and 75 days to mature. Long season varieties include ‘Ali Baba’, ‘Queen’, and the lovely ‘Moon and Stars’, all of which take 80 to 85 days to mature. Ten days may not seem like a big deal, but for gardeners with shorter growing seasons it can make a difference!
Watermelons can be started indoors, two to four weeks before your last frost date. If you want to plant sequentially to get the most out of your crop or you live in a cooler climate with a shorter season, this may be a good option. Otherwise watermelon can be direct-seeded into almost any rich, well-draining soil once soil temperatures have reached a consistent 70F/21C. For best results, try to maintain a soil pH between 6.0 and 6.8, though a bit of variation won’t cause serious problems.
Watermelons are heavy feeders! To produce the large, sweet fruit we love, watermelon plants require a lot of organic matter and nutrition in their soil. Amending your soil with good organic compost and fertilizer before planting and supplementing them throughout the growing season is a good way to ensure that you get the best of your watermelon plants.
Watermelons require a lot of space! Many watermelon varietals produce long, sprawling vines, and thus need a fairly large amount of space in a garden. Making sure that the vines have enough room to grow and that your plants are spaced far enough apart is important for a good watermelon crop. Watermelon can be grown in containers—just use 10 gallon containers or larger and make sure they get enough water and again, plenty of space!
Watermelons thrive in warmer weather, so air temperatures of 80F/27C are best. Watermelon need a lot of water in their soil (there’s a clue in the name!) but otherwise arid conditions don’t bother them as long as they get a good long drink every day.
How To Tell When Watermelons are Ripe
This is always the big question in growing watermelon—how do you tell when watermelons are ripe? Everyone has their own techniques, which interestingly vary from region to region. In the Southern US, where watermelons are very popular, tapping or thumping the thickest part of the watermelon with a finger is the preferred method for testing ripeness. If the watermelon sounds “hollow”, it’s ready to pick. One farmer we met in rural China swears that holding the watermelon between your hands and shaking them back and forth is the proper technique. While these methods (among others) can work, there are a couple of easier and more “scientific” ways to tell if a watermelon is ready to harvest.
The first step is to know the varietal of watermelon you’ve planted, and what to expect from it. While fruits vary in size even from an individual plant, knowing your varietal will tell you roughly how large a watermelon you should expect at maturity, and what color it should be. Paying attention to your crop is a must—watermelons can grow and mature surprisingly fast!
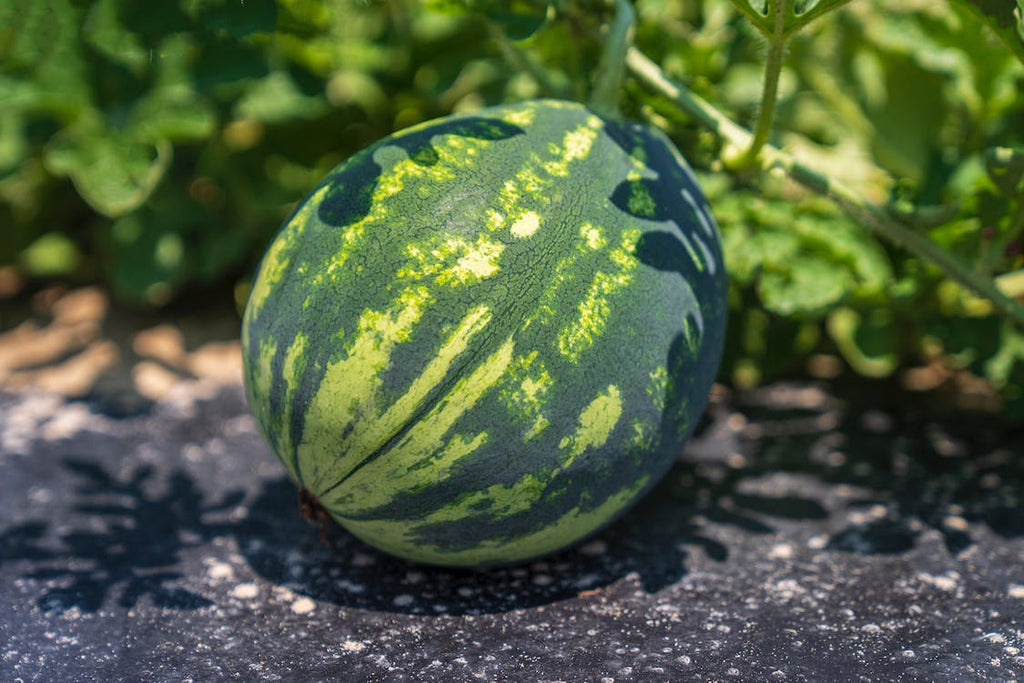
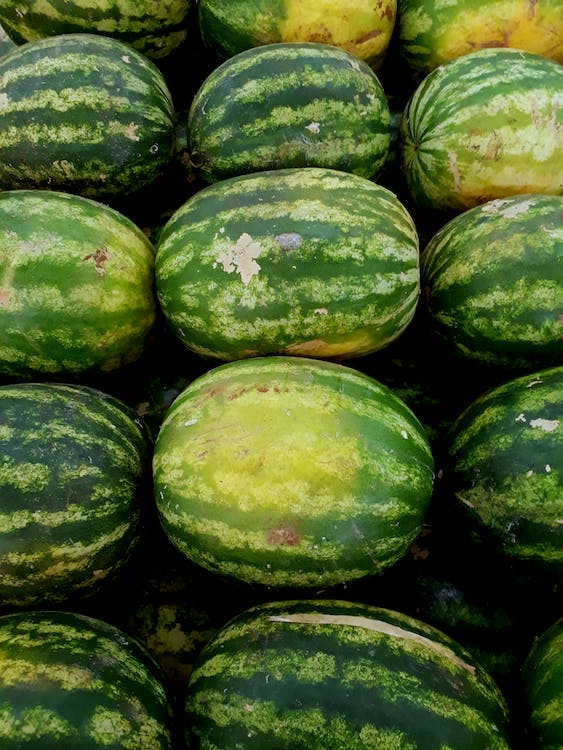
Next, check the field spot. The field spot is the spot that forms on the bottom of the watermelon where it rests on the ground. If the field spot has ripened to a bright yellow or golden color, the melon is ripe. If the field spot remains the same color as the rest of the rind, or has one progressed to a white, light green, or very pale yellow, it’s not ready yet.

Next, check the tendrils of the plant—the curly little growths on the vine that grab onto things and keep the vine stable. If the tendrils near the watermelon in question are turning brown, the fruit is likely to be ripe.
Harvesting watermelon is pretty easy—you can either twist the watermelon off of the stem or just cut it off with a pair of sharp, clean shears or scissors.
Enjoying Home-Grown Watermelon
When your watermelon is ripe and you’ve brought it inside, what do you do with it? Cutting a watermelon can be done safely with a sharp, heavy knife, a good solid cutting board, and a stable surface. Again, everyone has their own way of doing this, but here’s a good safe method recommended by a number of chefs and professional cooks. Slice a few inches off each end of the watermelon—the stem and flower ends—to create a stable resting surface. Stand the watermelon up on one cut end, and then carefully cut in half, and then cut each half into wedges or cubes as needed. Removing the flesh from the ride can be done with a metal spoon or spatula, if so desired.
Personally we think that watermelon are best consumed fresh, cut into a wedge and eaten directly. Some folks like them cubed, either solo or in a fruit salad. Some people put a little salt on them. Watermelon are flexible so it’s really up to you—and watermelon recipes might appear in a future blog!
As always, Gardzen is all about community and we love to hear from you. If you have tips, tricks, or stories for growing watermelon, reach out and let us know in the comments or via social media! If you have any questions, get in touch and we’ll do our best to answer them!

A friend referred me to this article and I’m so glad I read it. My 12-year-old granddaughter wanted to grow watermelons this summer! This is our first time expanding our interests in the direction of gardening together. We found the article full of valuable information. We decided on the Sugar Baby since it’s smaller in size and has a shorter time span to produce. We’re excited and plan to track the progress of growth and hope to eat watermelon at the end!
Definitively learning the optimal way to determine ripeness in a melon is very rewarding! I‘ve often gone for a spotless or minimally spotted one when at a supermarket, but now am armed with the truth that I had things completely backwards, how silly.
That advice on cutting technique, to slice a bit off the ends, makes so much sense and feels so obvious after the fact, but had never occurred to me. Thank you.
Happening upon this article helped get me thinking about gardening someday should the opportunity arise, and for that I am thankful, as it previously seemed a bit too difficult to really envision actually doing myself. It is quite pleasant and ideal to think about and consider.
Leave a comment