Michael Jenkins

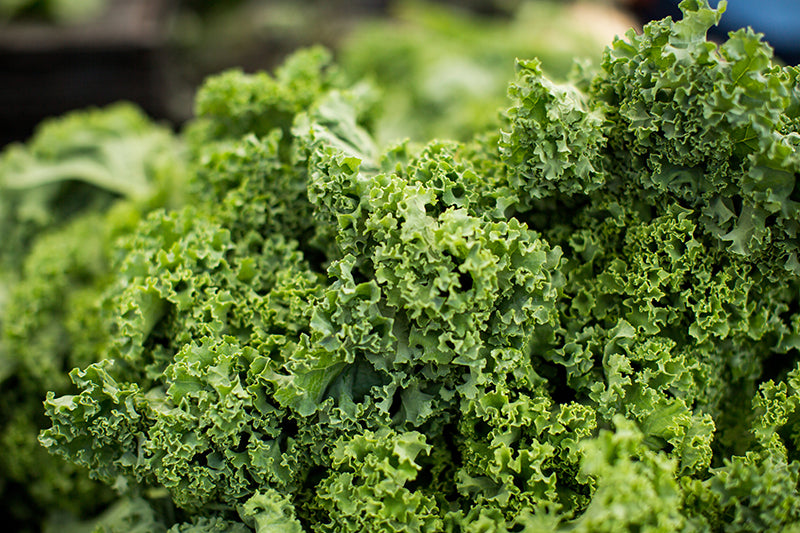
One of the nice things about the cooler months of the year is all the wonderful greens that grow so prolifically in many parts of the country. Cabbage, spinach, chard—the options are nearly endless, but today we’ll be focusing on two greens that are growing in popularity. Collards and kale are two kinds of greens that are well-loved and long-established, but are also seeing more popularity in recent years. As cooks and chefs around the world embrace them, growing collards and kale is increasingly popular with home gardeners. So if you’re new to growing collards and kale, or just interested in learning more, we’re here to tell you a bit about these marvelous garden plants.
Let’s start with some basic botany. Collards and kale are both varietals of Brassica oleracea, a plant species that also includes cabbage broccoli, cauliflower, Brussels sprouts, gai lan, and many similar plants. While these greens are grown and eaten all over the world, they ultimately trace their origins to Mediterranean Europe. Thousands of years of cultivation have developed these plants into many different varietals and sub varietals, including collards and kale. For growing collards and kale, this means that these plants grown in broadly the same conditions, and that they can be used mostly interchangeably in many recipes. The resulting dish might not be exactly the same, but it will likely be just as tasty!
So now that we know a bit about them, let’s talk about how you can grow collards and kale at home. These plants prefer cooler weather, and cool, moist soil. In much of the US, this makes them a fall and spring crop rather than a summer vegetable. In the American South—where collards are especially popular—they’re often grown over the winter due to the mild climate of the region. For most gardeners, it’s best to start your collards and kale from seed about six weeks before the last frost. The seeds prefer cool soil temps for germination—they’ll sprout in soil temps of 45F/7C! Collards and kale grow best in moist, rich soil with a pH between 6.0 and 7.5. Adding some good organic compost to your soil before planting is helpful—while not particularly heavy feeders, collards and kale do like a nutrient-rich environment. You can direct seed into your garden beds or start collards and kale in seed trays indoors, but you should allow for at least 12 inches/30cm between plants as they mature. As the weather gets colder, adding some light mulch like grass clippings or coarse compost helps insulate the roots and keep the plants growing and thriving. If especially cold weather is expected, a row cover can help protect collards and kale and allow them to recover more quickly when things warm up.

Collards and kale are fairly resilient plants, with relatively few pest problems. Summer insects like grasshoppers, harlequin bugs, and the like can be a concern early in the season for smaller plants, but a light row cover can help keep them away. Cabbage worms are the biggest concern, and are best kept away with row covers when the plants are small and then the use of an organic Bt or Spinosad pesticide as the plants get larger.
When it comes time, harvest collard and kale leaves by breaking off older, larger leaves from the stem as you need them for cooking. There’s no need to cut the entire plant—by harvesting leaves as needed the plant can continue to grow and produce more leaves all season long. Traditionally, many people believe that the leaves taste best after a light frost, but you can use them as soon as they get roughly the size of an adult hand. As for cooking them, there are many, many different recipes using collards and kale which yield delicious results. These greens are also great to experiment with if you enjoy exploring things in the kitchen.
We hope this both peaks your interest in growing collards and kale and helped you learn a bit more about them. If you have questions, comments, or tips of your own, get in touch with us. We’d love to hear from you!

Leave a comment