

By Michael Jenkins

In this blog we tend to focus on plants, plant care, and general gardening knowledge and skills. However, for this edition, we’re going to show you something different and present a DIY for a gardening project we did at home. We had a front yard area that needed a bit of a refresh and we wanted to do something both creative and functional. With that in mind, we planned and completed a minimal-budget landscaping project which one or two people could do themselves in a few days. Let’s look at how we did it, and how it turned out. So, in grand Gardzen style, let’s dig in! 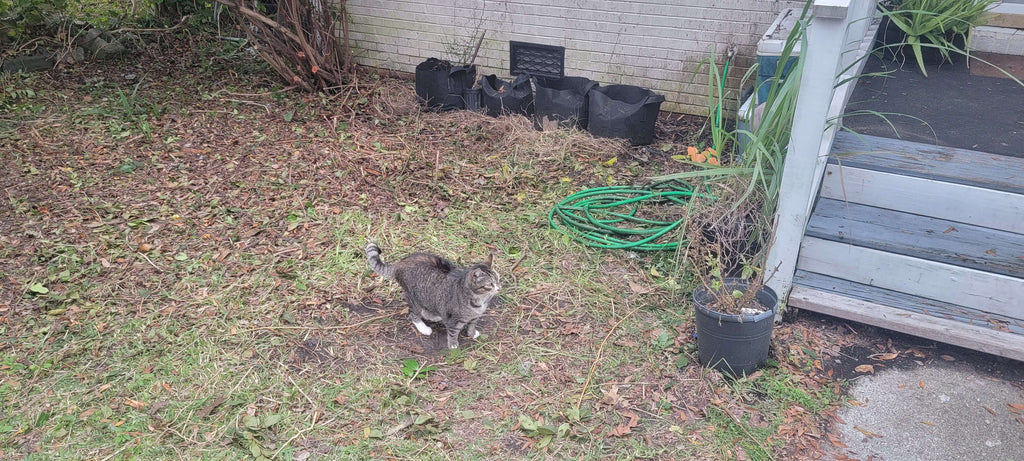
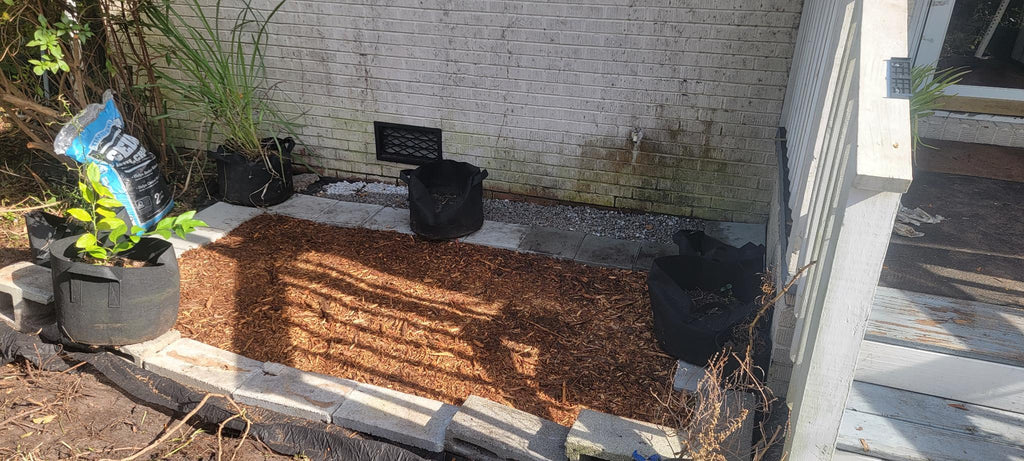
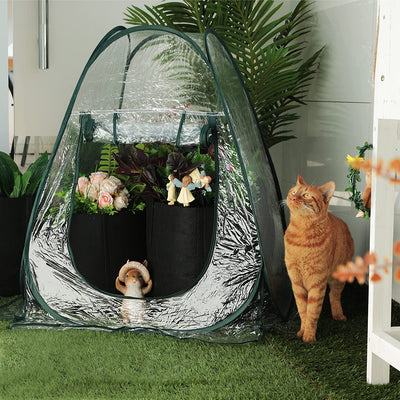
Here’s the space we were starting with—as you can see it’s functional but not very aesthetic although our chief garden cat Irene is a fan. Mostly it had been used for container plants, as it gets good afternoon sun, but it’s not very visual pleasing now that winter is here. The plan was to create something that would be look appealing while also being functional, all while keeping costs to a minimum. We decided to use gravel against the house in order to provide drainage and some visual interested, while using pavers to define the space and ceder mulch as a ground cover. Inspired by the zen gardens of Japan, we wanted to create a relax, meditative feel while still having a space that could be home to container plants. 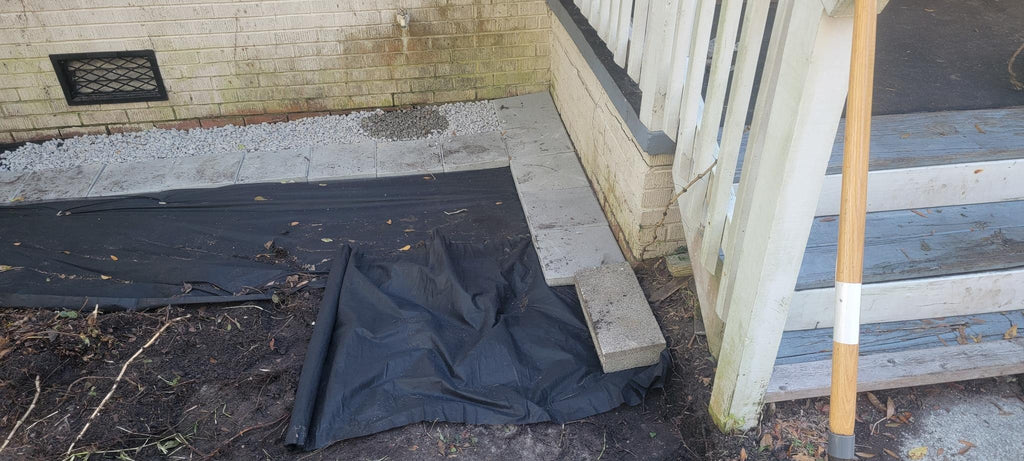
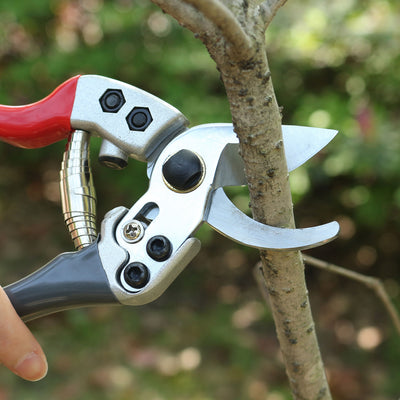
The plan was to have 12 inches/30cm of gravel between the house and the garden space. This helps with drainage, and it’s fairly easy to install. The difficult part was the site prep—we had to level the ground and then remove all grass, vines, stems and stumps, and unwanted rocks and debris. This took a few hours and it was the most work intensive part of the project. We made good use of a hand saw, some strong clippers, and even a chain saw at one point. Please be careful using tools and ensure that you’ve got all the appropriate safety equipment in place!
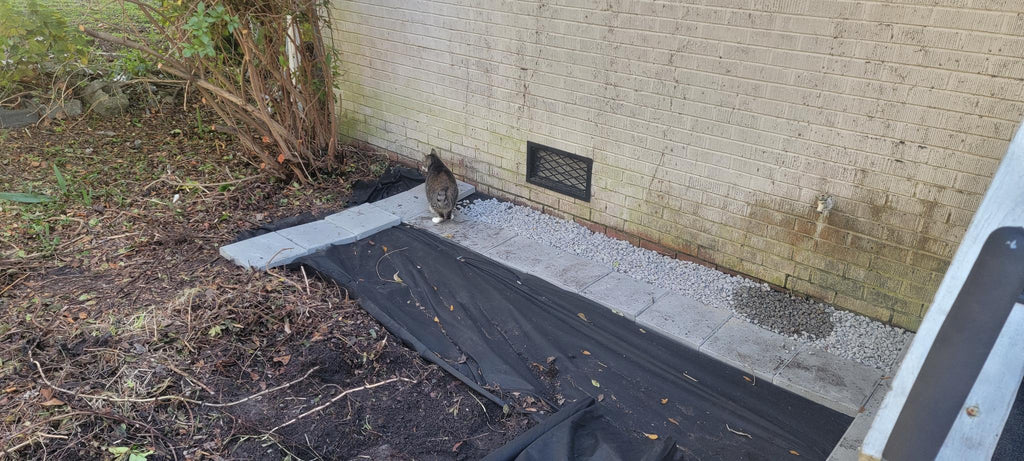
The ground needed to be clear and level so we could put down landscape fabric as a weed barrier. We chose landscape fabric instead of plastic in order to ensure good drainage, which keep water from pooling near the foundation and helps the mulch last a bit longer. We cleared as we went, rolling out each layer of fabric with a six inch overlap to ensure that weeds couldn’t find their way through. The pavers and gravel anchored the edges—we ran landscape fabric under the gravel too—and we used landscape fabric anchors to hold the fabric down in the area to be covered by mulch. These anchors look like giant staples, and you just push them through he fabric into the ground. Use them ever few feet, but especially where the edges overlap.
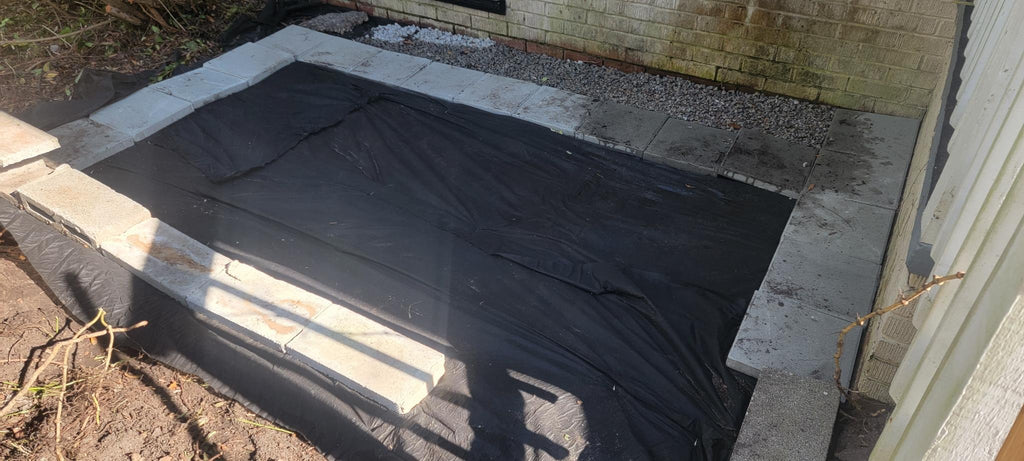
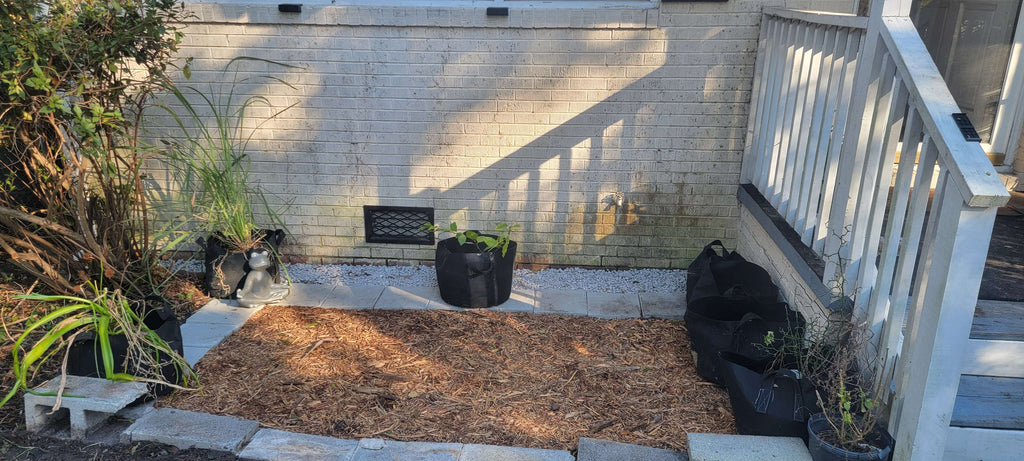
Once the fabric was in place and the pavers were installed around the edge, it was time to install the mulch. As with the gravel, it was pretty easy—put the fabric and pavers down, and then slowly fill the space to ensure level and even distribution. With both, a hard rake, landscape rake, or shovel can be useful in spreading the ground cover. For both gravel and mulch, go slow and take your time—rushing the job can result in tearing the fabric, creating a mess, and generally frustration.
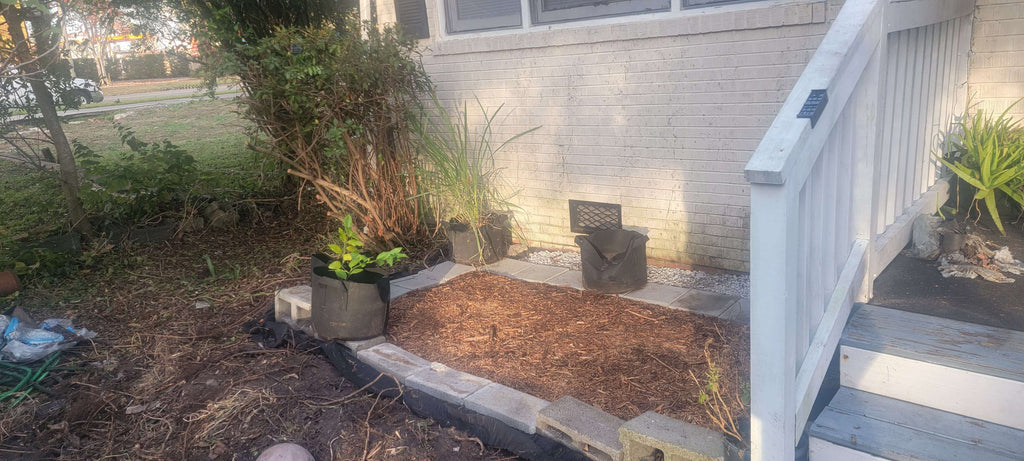
Once the mulch was down, it was time for clean-up. This included using a utility knife to trim the excess landscape fabric form around the edges, packing and settling the dirt around the edges of the landscaped area, and then sweeping the pavers clean. With that done, we were able to start moving some plants back into the area. Walking on the mulch helped to settle and level it, which in turn helps ensure that it stays in place.
With that, the project was done other than enjoying it! Our total cost was around US$120 for materials, because we had the tools already and did the labor ourselves. It took about 6 hours over two days, most of which were spent clearing the roots and debris from the soil. We’re sharing this both as a DIY how-to article and (we hope) as inspiration. Landscaping projects and making your garden you own don’t need to cost tens of thousands of dollars. With a little creativity and some effort, you can do a lot with a little space and a reasonable budget!

Leave a comment